Aquariums are living microcosms that require meticulous attention to maintain a thriving ecosystem for the aquatic inhabitants. Among the essential practices, changing the water in an aquarium is paramount to ensuring optimal water quality and promoting the well-being of aquatic life. This article presents a detailed walkthrough on how to change the water in an aquarium adeptly, the rationale behind it, and best practices for achieving effective results.
Understanding the Importance of Water Changes
The Rationale Behind Water Changes
Aquarium water accumulates waste products such as uneaten food, organic matter, and chemicals. These elements contribute to the degradation of water quality. Regular water changes are imperative for:
- Removing toxins and pollutants.
- Replenishing essential minerals.
- Maintaining the pH balance.
- Reducing the prevalence of algae.
Frequency and Volume of Water Changes
It is advisable to change 10-25% of the tank’s water every 2-4 weeks. However, the frequency and volume can vary depending on factors like tank size, bioload, and filtration capacity. It is crucial to avoid changing all the water at once, as it can cause a drastic shift in water parameters, stressing the inhabitants.
Assembling the Necessary Equipment
Before proceeding, ensure that you have the following equipment:
- A bucket or container (preferably with measurements).
- A gravel vacuum or siphon.
- Water conditioner or dechlorinator.
- Fresh water (with similar temperature as the aquarium).
- Aquarium water test kits.
- Cleaning cloths or algae pads.
- A thermometer.
A Step-by-Step Guide to Changing Water in an Aquarium
Step 1: Preparation
Begin by turning off any equipment such as heaters, filters, and pumps to prevent them from malfunctioning when the water level drops. Clean the interior walls of the aquarium with an algae pad to remove algae or residue.
Step 2: Removing Old Water
Place a bucket beneath the aquarium and use a gravel vacuum or siphon to remove water. Insert the vacuum into the gravel to remove debris that may have settled. Remove approximately 10-25% of the total volume.
Step 3: Preparing Fresh Water
Fill another container with fresh water. It is essential to ensure that the temperature of the new water is close to the aquarium’s water to minimize temperature fluctuations. Use a water conditioner to neutralize chlorine and chloramines, as these chemicals are harmful to aquatic life.
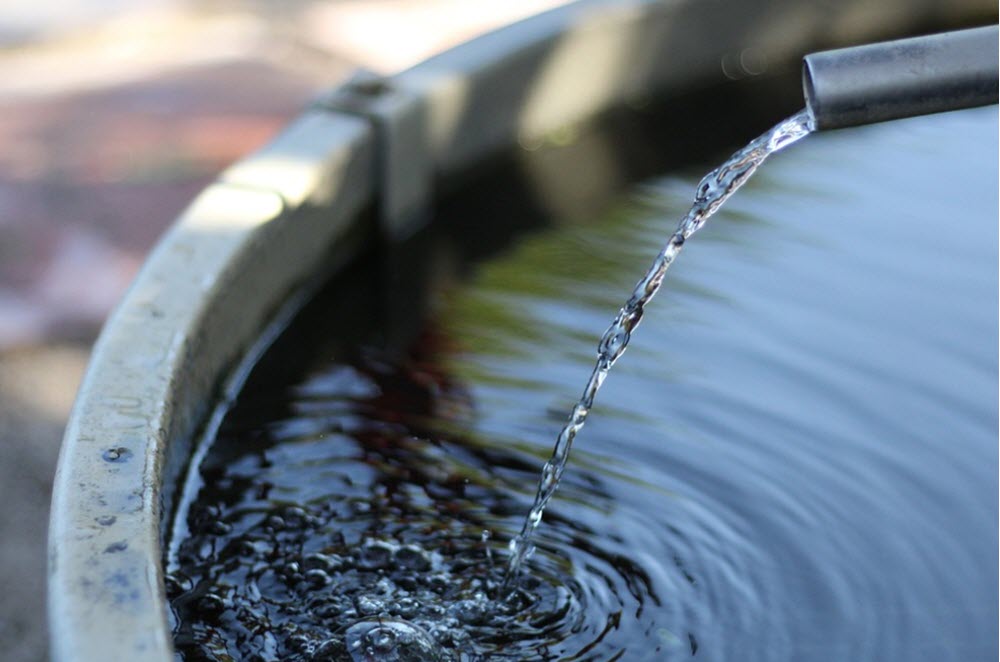
Step 4: Adding Fresh Water to the Aquarium
Slowly add the new water to the aquarium. Pour gently to avoid disturbing the substrate or decorations. Using a small container or a cup is advisable to gradually introduce the new water.
Step 5: Reinstating Equipment and Checking Parameters
Turn on the aquarium’s equipment. Use a thermometer to check the water temperature, ensuring that it’s within the safe range for the inhabitants. Utilize aquarium water test kits to measure the pH, ammonia, nitrate, and nitrite levels.
Step 6: Monitor and Clean Up
After the water change, closely monitor the fish and other inhabitants for any signs of stress or unusual behavior. Clean and store the equipment properly for future use.
Additional Tips and Best Practices
Consistency is Key
Adhering to a regular schedule for water changes is crucial. Consistency in maintenance will result in a more stable and healthier environment for your aquatic pets.
Record Keeping
Maintaining a logbook of water changes, measurements, and observations can be incredibly useful for monitoring trends and identifying potential issues before they become critical.